")
Miles Junkie is supported by you, our readers, and this article may have references to products from one or more of our advertising partners. When you click on links to products we may receive compensation. For a more in-depth explanation visit our Advertising Policy.
Welcome to the (often) exciting world of air travel. Whether you’re a first-time flyer or someone who hasn’t taken to the skies in a while, this guide is designed to walk you through the essential steps of navigating an airport in the US. From checking in to clearing the TSA security checkpoint and finally boarding your flight, I’ll provide you with tips and insights to make your journey as smooth as possible.
Checking In
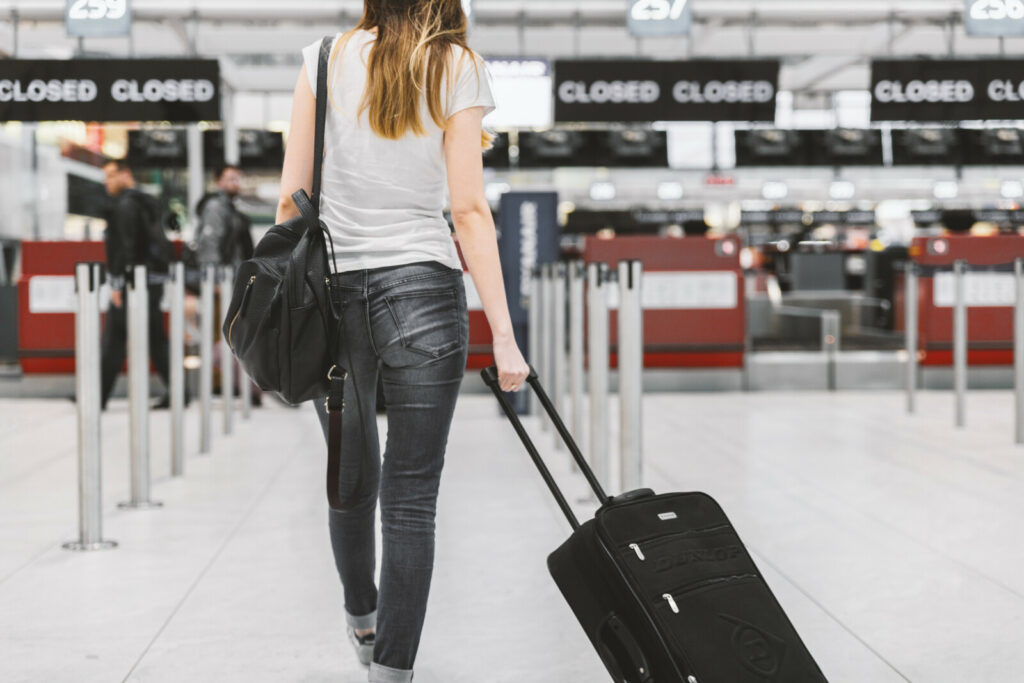
Before you can think about taking off, you need to check in for your flight. This section will explain the two primary ways to check in: online or at the airport.
Online Check-In
Checking in online is usually pretty simple, and can be beneficial. In addition to reduced fees for checking a bag or selecting a seat (if your initial booking didn’t include that and your fare class allows) you also have the opportunity to obtain your boarding pass electronically, or by printing it at home. That way, if you do not have a bag to check, you can head directly to security and bypass the check-in / bag check counter entirely.
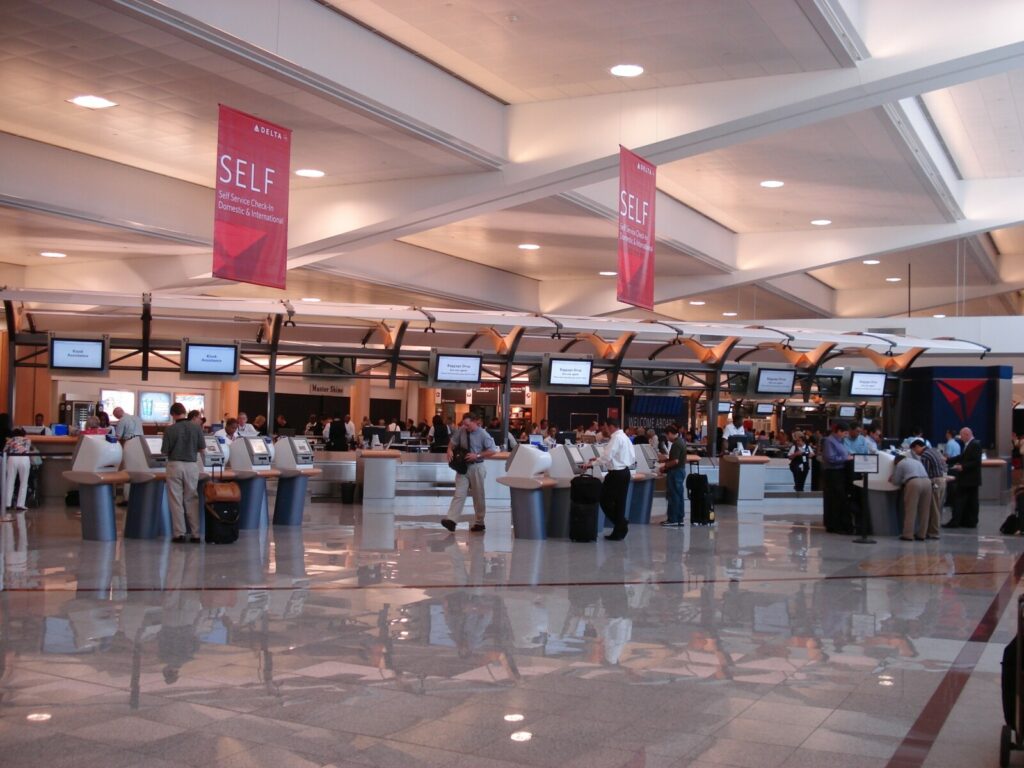
Airport Check-In
For those who prefer or need to check in at the airport, you can still benefit by paying for bags online, if you choose to (or need to). But you can head to the check-in counter for assistance with bags, seats, or even flight changes.
Another thing to keep in mind, when checking a bag – there will be a weight limit depending on your carrier and class of service. Generally, you’ll see a 50lb limit, but some airline are moving to limits in the 40lb range or ~70lbs for first class ticketed passengers. Be sure to check your booking information for those details.
Additionally— if you are traveling on a main-line carrier like Delta, United or American, many times they’ll be pressed for space in the overhead bins.. So, if you don’t mind going through security with your roller baggage, you can usually check a bag for free at the gate, bypassing the need to pay for a checked bag. Just ask the gate agent 20 or so minutes before boarding if they’re willing to check your bag to speed up boarding – they often are happy to get that out of the way before they have to announce that “the flight is full and overhead space will be extremely limited.”
Going Through Security
Preparing for Security
The security checkpoint can be one of the most daunting parts of air travel. But with a little prep, you’ll go through like a seasoned veteran.
- Documents Ready: Have your boarding pass and ID (passport, driver’s license, or another TSA-approved ID) accessible.
- Pack Smart: Follow the 3-1-1 liquids rule. Liquids, aerosols, gels, creams, and pastes must be 3.4 ounces (100 milliliters) or less per container; all containers must fit in a single, clear, quart-sized bag. One bag is allowed per passenger, and it must be placed in a bin for screening. See the TSA video below for more details.
- Electronics: Larger electronics like laptops and tablets typically need to be removed from your bag and placed in a bin. Smaller electronics, like phones and portable chargers, can stay in your bag, but this can vary by airport so be sure to look at any signs and listed to TSA agent instructions.
- Clothing and Accessories: Simplify your outfit. Remove belts, bulky jewelry, watches, and everything from your pockets. Shoes must be removed and placed on the conveyor belt, so wear easy-to-remove footwear.
- Food: Food items may need to be placed in a bin for X-ray screening. Pack them in a way that’s easy to remove to expedite the process.
- Special Items: Declare larger liquids (medications, baby formula, and food) and other special items to the security officers before screening begins.
- Prohibited Items: Check the TSA website for a list of prohibited items to ensure none are in your carry-on.
- Be Ready: As you approach the screening area, start preparing by removing your shoes, belt, and jacket, and by taking out your liquids bag and electronics.
Don’t be alarmed if a TSA security agent is yelling while you’re in the security line – they are not (usually) upset with you, they’re just trying to make sure everyone in line knows what they need to do when reaching the screening area. Being prepared and knowing what to expect can make the TSA screening process smoother and less stressful. Always check the latest TSA guidelines before your trip, as requirements can change.
Tips for a Smooth Security Experience
As I approach the checkpoint (after I’ve shown my ID to the desk agent) I put my wallet, phone, belt, and watch into my carry-on bag. When going through the body scanner, you’ll need all your pockets empty. If you are nervous about being separated from your wallet, boarding pass, and/or cash, you can hold those in your hand as you are scanned.
If you’re going to be traveling more than a couple times a year, you’ll probably want to invest in TSA Pre-Check or Global Entry – part of the US Trusted Traveler program. That way you’ll be able to take advantage of expedited security lanes that don’t require you to remove your shoes, take out your laptop, or go through a body scanner (just a metal detector).
TSA Pre-check pro tip — if you’re wearing a hat or hat and sunglasses, simply leave them on your head when going through the metal detector, and the TSA agent won’t have to inspect them. If you take the hat off, they’ll need to manually check it out.
Boarding Your Flight

Boarding groups are a system most US airlines use to organize the process of getting passengers onto the plane in a somewhat orderly manner. This system can vary by airline, but it generally works by assigning passengers into specific groups or zones, which are called to board at different times. Here’s how it typically works and how you can know when it’s your turn:
Understanding Boarding Groups
- Assignment: When you check in for your flight—whether online, on a mobile app, or at the airport—you’ll be assigned to a boarding group. This information is often found on your boarding pass near your seat number.
- Grouping Criteria: Airlines may determine your boarding group based on several factors, including ticket class (e.g., first class, business class, economy), frequent flyer status (higher tiers board earlier), whether you’re traveling with small children, if you require special assistance, or the time of your check-in.
- Order of Boarding: Typically, passengers requiring special assistance and those with higher-tier frequent flyer status or premium tickets board first. General boarding often starts with the back of the plane or specific sections, moving forward in stages to balance the plane and speed up boarding. The primary reason premium tickets or high-tier status flyers want priority boarding is because it’s easier to find space and stow luggage in the overhead bins — sorry basic economy ticket holders.
Knowing When It’s Your Turn
- Listen for Announcements: Airlines will announce when each boarding group is welcome to board. Listen carefully for your specific flight and group or zone number.
- Boarding Pass Check: Always check your boarding pass for your assigned group and compare it with the announcements or displayed information at the gate.
- Display Screens: Many gate areas have screens showing which group is currently boarding. Keep an eye on these as they’re (usually) updated in real-time.
- Gate Agents: If you’re unsure about when to board, ask a gate agent. They can provide the most current information on the boarding process.
Tips for a Smooth Boarding
- Be Prepared: Have your boarding pass ready as you approach the gate to avoid fumbling and delaying the line.
- Stay Close: Once boarding starts, stay near the gate area, especially if you’re in a later group, so you can line up as soon as your group is called. But please do not block the hall area where people are trying to get to other gates, and don’t crowd around so much that groups ahead of you cannot reach the boarding gate.
- Gate Checking: If you’re in one of the last groups, be prepared for the possibility of having to gate-check your carry-on if overhead bin space runs out. Again, if you’re not opposed to it, try to gate-check your roller board bag at the gate well before boarding begins.. it’s usually free and frees you up to simply get on the plane and find your seat.
Understanding how boarding groups work and staying attentive during the boarding process can make your boarding experience as smooth and stress-free as possible.
Final Thoughts & Tips
Air travel doesn’t have to be stressful. With a little preparation and knowledge, you can navigate the airport with confidence and ease. To wrap up, we’ll share a few additional tips that can make your travel experience even better.
- Respect Personal Space: Airplane seats can be close quarters. Try to stay within your own space and avoid spilling over into the seats next to you. Be mindful when reclining your seat, especially during meal times or if the person behind you is using a laptop.
- Control Noise Levels: Keep conversations and electronic devices at a reasonable volume – don’t use the speaker on your phone to watch a video, use headphones. This shows respect for the shared environment and helps everyone have a more peaceful flight.
- Queue Politely: When boarding or disembarking allow those in front of you to move first and be patient, especially with slower passengers or those with children.
- Assist with Luggage: If you see someone struggling to put their bag in the overhead bin and you’re capable of helping, offering assistance can be a kind gesture. However, be cautious and ensure you’re not putting yourself or others at risk of injury.
- Use the Overhead Bins Considerately: Place your carry-on luggage in the overhead bin neatly to leave space for others. Try to use the bin above your own seat row when possible so you don’t take up room at the front of the plane causing passengers boarding later in that space to have to find overheads in the back – causing delays during deplaning.
- Avoid Strong Scents: Since you’ll be in a closed environment, it’s best to avoid wearing strong perfumes or colognes that might be overwhelming to other passengers.
- Be Mindful with Children: If traveling with children, keep an eye on them to ensure they aren’t disturbing other passengers. Consider bringing activities or snacks to keep them occupied and comfortable during the flight.
- Share Armrests: The general courtesy is that the person in the middle seat gets to use both armrests since they have less space. If you’re on an aisle or window seat, consider yielding the shared armrest.
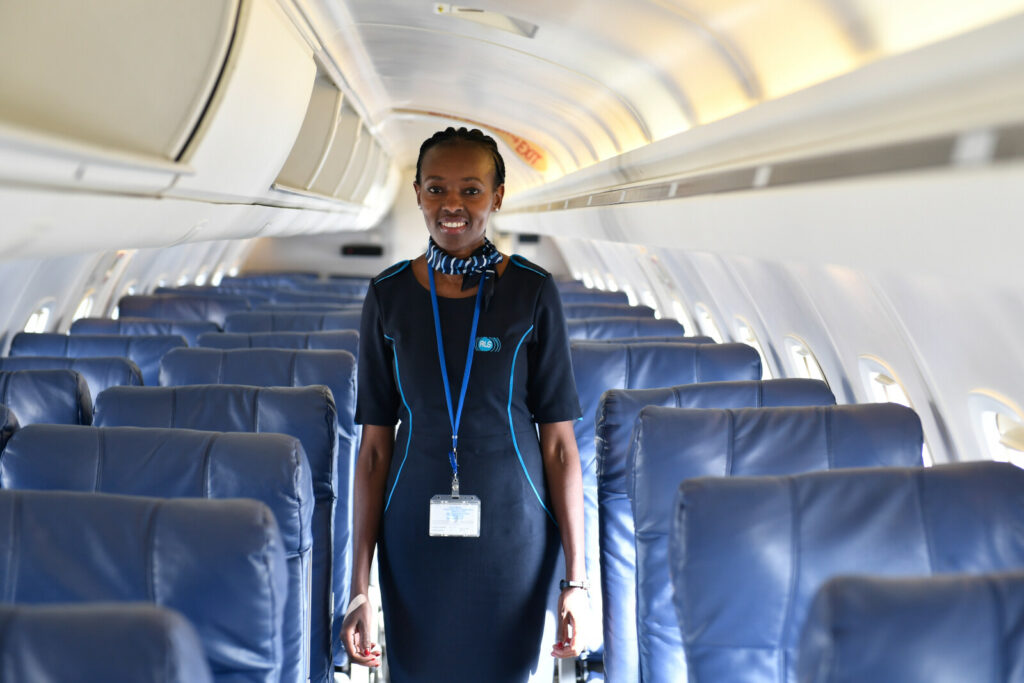
- Respect Flight Attendants: Listen attentively during safety instructions and follow the guidelines provided by the cabin crew. Treat flight attendants with respect and appreciation; they are there primarily to ensure your safety.
- Handle Conflict Calmly: If a dispute arises, whether it’s over space, noise, or something else, handle it calmly and politely. If necessary, ask a flight attendant to help mediate rather than escalating the situation.
If everyone can agree to follow, even most of these points of common courtesy, we can all have a pleasant travel experience!
Editorial Note: Information and opinions articulated in this article are solely those of the author’s, not those of a credit card company, bank, airline or hotel chain. This article has not been reviewed or approved by or otherwise endorsed by any of these companies or organizations.


")